
Like many self-hosters using Tailscale, I want to run a single DNS server for my Tailnet, pointing to Tailnet IP addresses. However, I also have some devices on my LAN that for whatever reason, aren’t using Tailscale. This creates a problem: those devices (not on Tailscale) obviously can’t make use of the private IP addresses returned by the DNS server. So what’s the solution? I could run two DNS servers but this would be a waste of time, resources, and frankly just make me sad. Enter Technitium DNS.
I first heard about Technitium DNS though the Self Hosted Show and it quickly became one of my favourite open source projects. The crazy amount of options and features it offers would make it my reccomendation to anyone, but today the area of concern is the Split Horizon app.
I’m currently hosting Technitium on NixOS, but they also provide a convenient Docker image, which I’ve used in the past.
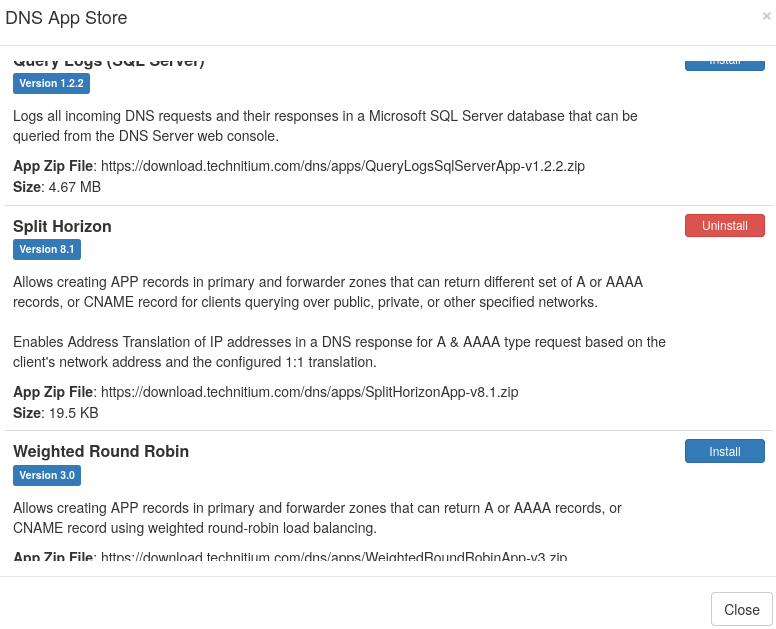
Once you have Technitium DNS up and running, you’ll want to go to the Apps tab, then App Store, and install the Split Horizon app.
Once downloaded, hit Config. An example configuration might look something like this:
{
    "enableAddressTranslation": true,
    "networkGroupMap": {},
    "networks": {
        "LAN": [
            "192.168.1.0/24"  # CIDR of your local network
        ],
        "tailnet": [
            "100.0.0.0/8"  # CIDR of Tailnet IPs
        ]
    },
    "groups": []
}
With this set, you can head to Zones and start creating records. Hit Add Record as normal, but under Type choose App. App Name should of course be Split Horizon. The only types available here are SimpleAddress (A or AAAA records) or SimpleCNAME (CNAME records, duh) but for our purposes this should be fine.
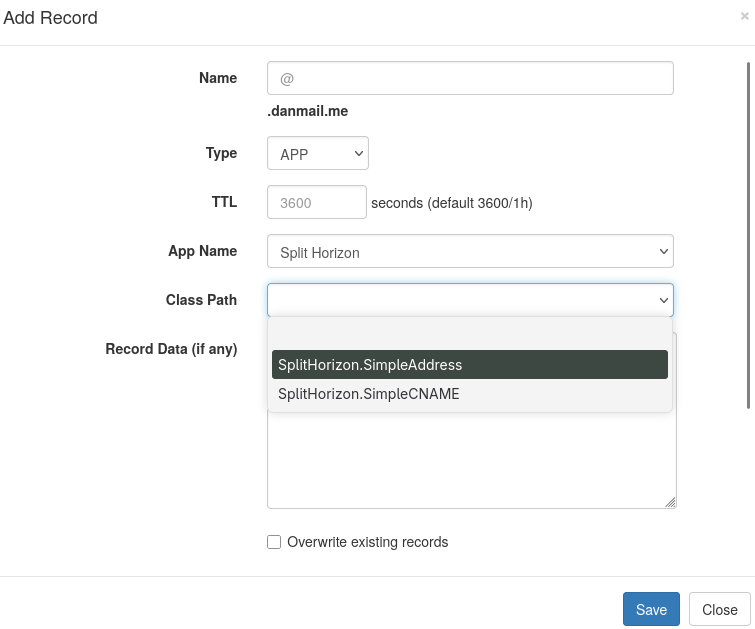
In Record Data (if any) we can define the target IP address for this record on both of the networks we defined earlier in Split Horizon’s config.
{
  "LAN": [
    "192.168.1.42"  # Target IP of the machine on your local network
  ],
  "tailnet": [
     "100.98.209.11"  # Target Tailnet IP of the same machine
  ]
}
And that’s it, done! Now requests for our domain comming from the LAN IP range will get the response 192.168.1.42 and requests comming from the Tailnet IP range will recieve 100.98.209.11.